Are you carrying out your own home renovations? If so, you may be thinking about using box beams in your walls, floors, garage, or the deck area.
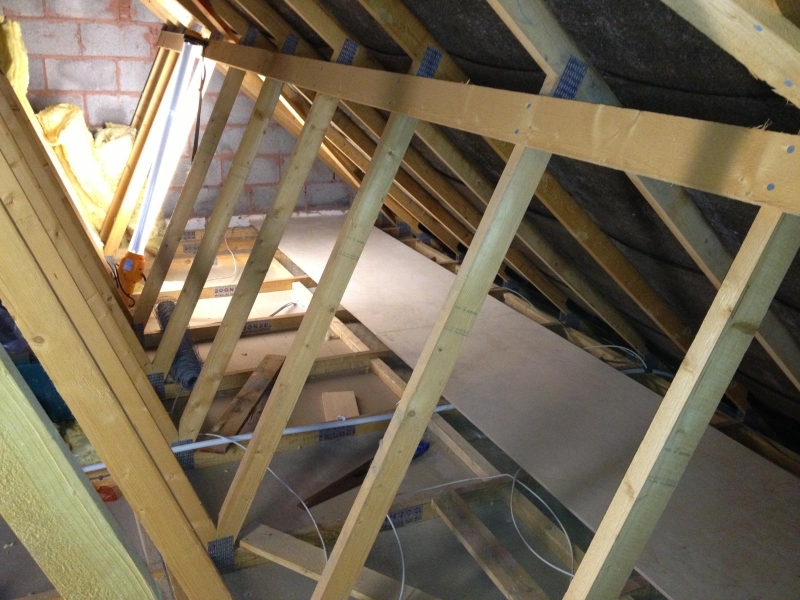
Box beams are horizontal, weight-bearing supports that bridge an area. They are commonly used to reinforce structural strength in various parts of the house such as the roof, walls, and flooring. Many homeowners carry out DIY box beam installations on the ceilings to improve the visual appeal of their homes.
There are various reasons why contractors today prefer box beams to the traditional structural beams. These include the following:
- They are lightweight and require less support, especially if you use them as accent beams
- Box beams can be used to hide electrical wiring and cables to give your room a clean and organized look
- You can use box beams to wrap existing structural beams and revamp their look
- Box beams are easy to build, and they are affordable as a result
- They are available in any size, width, and height
- Box beams can be installed at any point you desire
- The beams are not susceptible to rot and mold
As you can see, these beams are excellent choices for your home’s renovation project. So, if you are thinking about saving costs by installing them on your ceiling, here is detailed guide that you can follow to build the box beams without professional help.
Materials You Will Need
Below are the materials and supplies that you will require to build the box beams:
- Tape measure
- 1X6 inch boards (Note that the length of the boards will depend on how long they need to span)
- 2X4 inch boards for blocking
- Nails
- Screwdriver
- Miter saw
- Nailing strips
- Glue
- Hammer
- Screws
- Measuring tape
- Stud finder
- Antiquing tools
Most of these tools are probably already in your garage. However, if you don’t have them, the project is budget-friendly, and it wouldn’t hurt to invest in a few of them. You can find the items in your local hardware store.
Step 1: Plan the Project
Before you start building the beams, you need to plan the construction. Begin by examining the ceiling area where you wish to install the beams. Most homes have electrical wiring, HVAC ducts, and plumbing pipes running through their ceilings; therefore, you need to be aware of the presence of these ducts and wires so that you don’t damage them during installation. Additionally, noting their positioning will help you plan your installation carefully.
After inspecting the ceiling, measure the area where you want to install the beams so that you can determine the number and size of the beams that you will need for the project. Next, locate the studs or ceiling rafters and mark their location. This is where you will install the nailing strip.
Step 2: Purchase the Lumber
The next step is to buy your lumber if you haven’t already. You can check with Big Timberworks Box Beams for quality and affordable beams. As you buy the 1X6 pieces, get the longest length possible. You can cut them to size if they are longer than what you need. Doing so will save you from patching up strips where their length is inadequate to cover the area. A complete length will also give your ceiling an appealing and seamless look.
Step 3: Construct the 1×6 Beams
After buying your pieces, you now need to prepare them and start the construction. The 1-inch boards are usually used on the sides and bottom of the beam to give it a nice finish. Therefore, you need to miter the 1X6 pieces on both sides. Use your miter saw to accomplish this task. Next, lay out the mitered pieces, glue them, and nail them with your small finish nails.
Use your nail set and hammer to drive the nails into the wood so that they don’t remain visible. Hammer them into the wood so that the headsets below the wood surface. After nailing the pieces, you now have to connect them so that they can resemble one solid beam. To do this, lay out your pieces on a flat surface, antique, connect, and finish them.
Note that after finishing the surface, you may be left with small holes where the nail heads went in. Apply colored painter’s chalk that matches the finished surface to the holes. You can then sand the area to give it an even finished look.
Step 4: Attach 1×6 Beams to the Blocking Boards
The construction of the 1×6 pieces is the most engaging. The next step is to create your box beams using the 2×4 blocking boards which act as the base. Nail your 1×6 beams to the 2×4 to create the beam sides. The role of the 2×4 blocking boards is to keep the sides of the beam square with the base. They also provide a point for you to secure the bottom of the beam to.
After building your box beams, they are now ready for installation. Remember to paint them in your preferred color to add warmth and personality to the room. You can use the existing ceiling or wall color or choose a complementary shade. However, if you want to achieve a natural, rustic feel, you can leave the beams without finishing. Hopefully, with the steps highlighted, you can now build your box beams based on your specifications and preferences.


